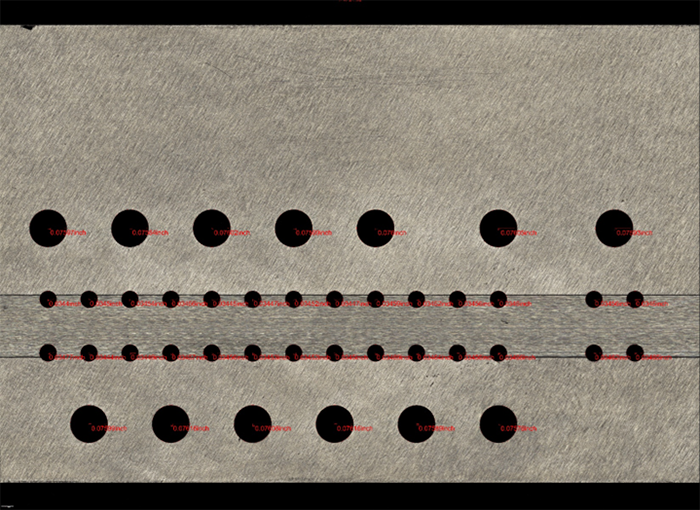
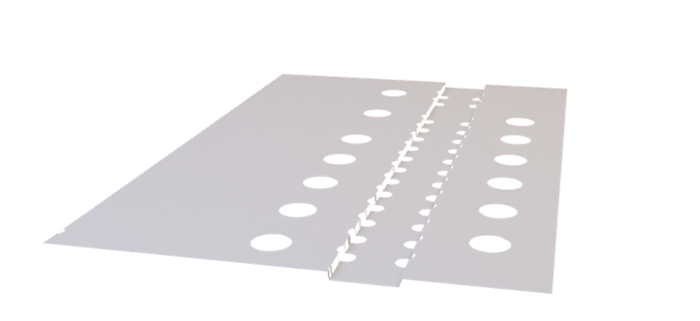
Our team at EDM Intelligent Solutions utilizes unique 3D Metrology equipment to quickly and accurately measure components with intricate geometry of all shapes and sizes. This True Position Gage was measured by performing a 2D analysis on a 3D dataset. The MVi5 3D Metrology Center removes the need for multiple measurement systems by allowing positional measurements in 3D space. Utilizing the high accuracy motion system, the MVi5 can be used as an optical comparator on any captured dataset while still allowing for depth measurements in three-dimensional space. This inspection routine allowed for quick verification of part conformance to ensure the efficiency and reliability of the final product.
Application Details
- Component – True Position Gage
- Material – Stainless Steel
- Metrology Services
- True Position Measurement
Positional and Radius Measurements

| Circles | |||||
| radius / inch | area / inch² | circumference / inch | M(x) / inch | M(y) / inch | |
| C5 | 0.03477 | 0.0038 | 0.21845 | -1.22019 | -0.42791 |
| C6 | 0.0344 | 0.00372 | 0.21613 | -1.22003 | -0.21159 |
| C7 | 0.03444 | 0.00373 | 0.21641 | -1.05478 | -0.42835 |
| C8 | 0.0345 | 0.00374 | 0.21676 | -1.05469 | -0.21143 |
| C9 | 0.03449 | 0.00374 | 0.21673 | -0.88929 | -0.42827 |
| ……………… | |||||
| ……………… | |||||
| radius / inch | area / inch² | circumference / inch | M(x) / inch | M(y) / inch | |
| Mean | 0.04768 | 0.00831 | 0.29961 | -0.13845 | -0.31034 |
| Std. Dev. | 0.01952 | 0.00678 | 0.12262 | 0.71264 | 0.24276 |
| Min | 0.0344 | 0.00372 | 0.21613 | -1.22019 | -0.71564 |
| Max | 0.07616 | 0.01822 | 0.47855 | 1.1504 | 0.07552 |
| Sum | 1.95507 | 0.34074 | 12.2841 | -5.67665 | -12.7239 |
| Median | 0.03459 | 0.00376 | 0.21732 | -0.22788 | -0.21172 |
| Robust | 0.03455 | 0.00375 | 0.21709 | -0.39325 | -0.42842 |
COMPETITIVE 3D METROLOGY, MEASUREMENT, AND INSPECTION SERVICES
Intelligent solutions to manufacturing and measurement challenges are what we do. Over the past 25 years, we’ve completed thousands of measurement and metrology projects. What differentiates EDM Intelligent Solutions 3D Metrology services from the competition is our unique understanding of each manufacturing process.
The EDMIS metrology technicians and applications engineers support their colleagues in our tight tolerance CNC machine shop that produces ultra-precision components for customers every day. Harnessing this unique relationship with manufacturing, our metrology team has the experience needed to fully assist our customers leverage the measurements taken of their components to improve their manufacturing processes.
We are confident that we can measure your most challenging components and work with you to fully understand what those measurements tell you about them. To learn more about how EDMIS can help you, contact our metrology team with your request for quote.


